Huygens Ray Tracer
This page concerns my “profielwerkstuk”, which is the term for a dutch obligatory high school project in the context of the classes they take. Ours was in the context of mathematics. Our work won a Van Melsen prize from Radboud University Nijmegen.
Only basic geometry and shading are implemented, and the implementation is completely unoptimized. The relative simplicity of the program is its greatest virtue.
Ray Tracing
Gabe Dijkstra, Robert Hensing
Contents
Ons profielwerkstuk (Dutch, PDF)
Images
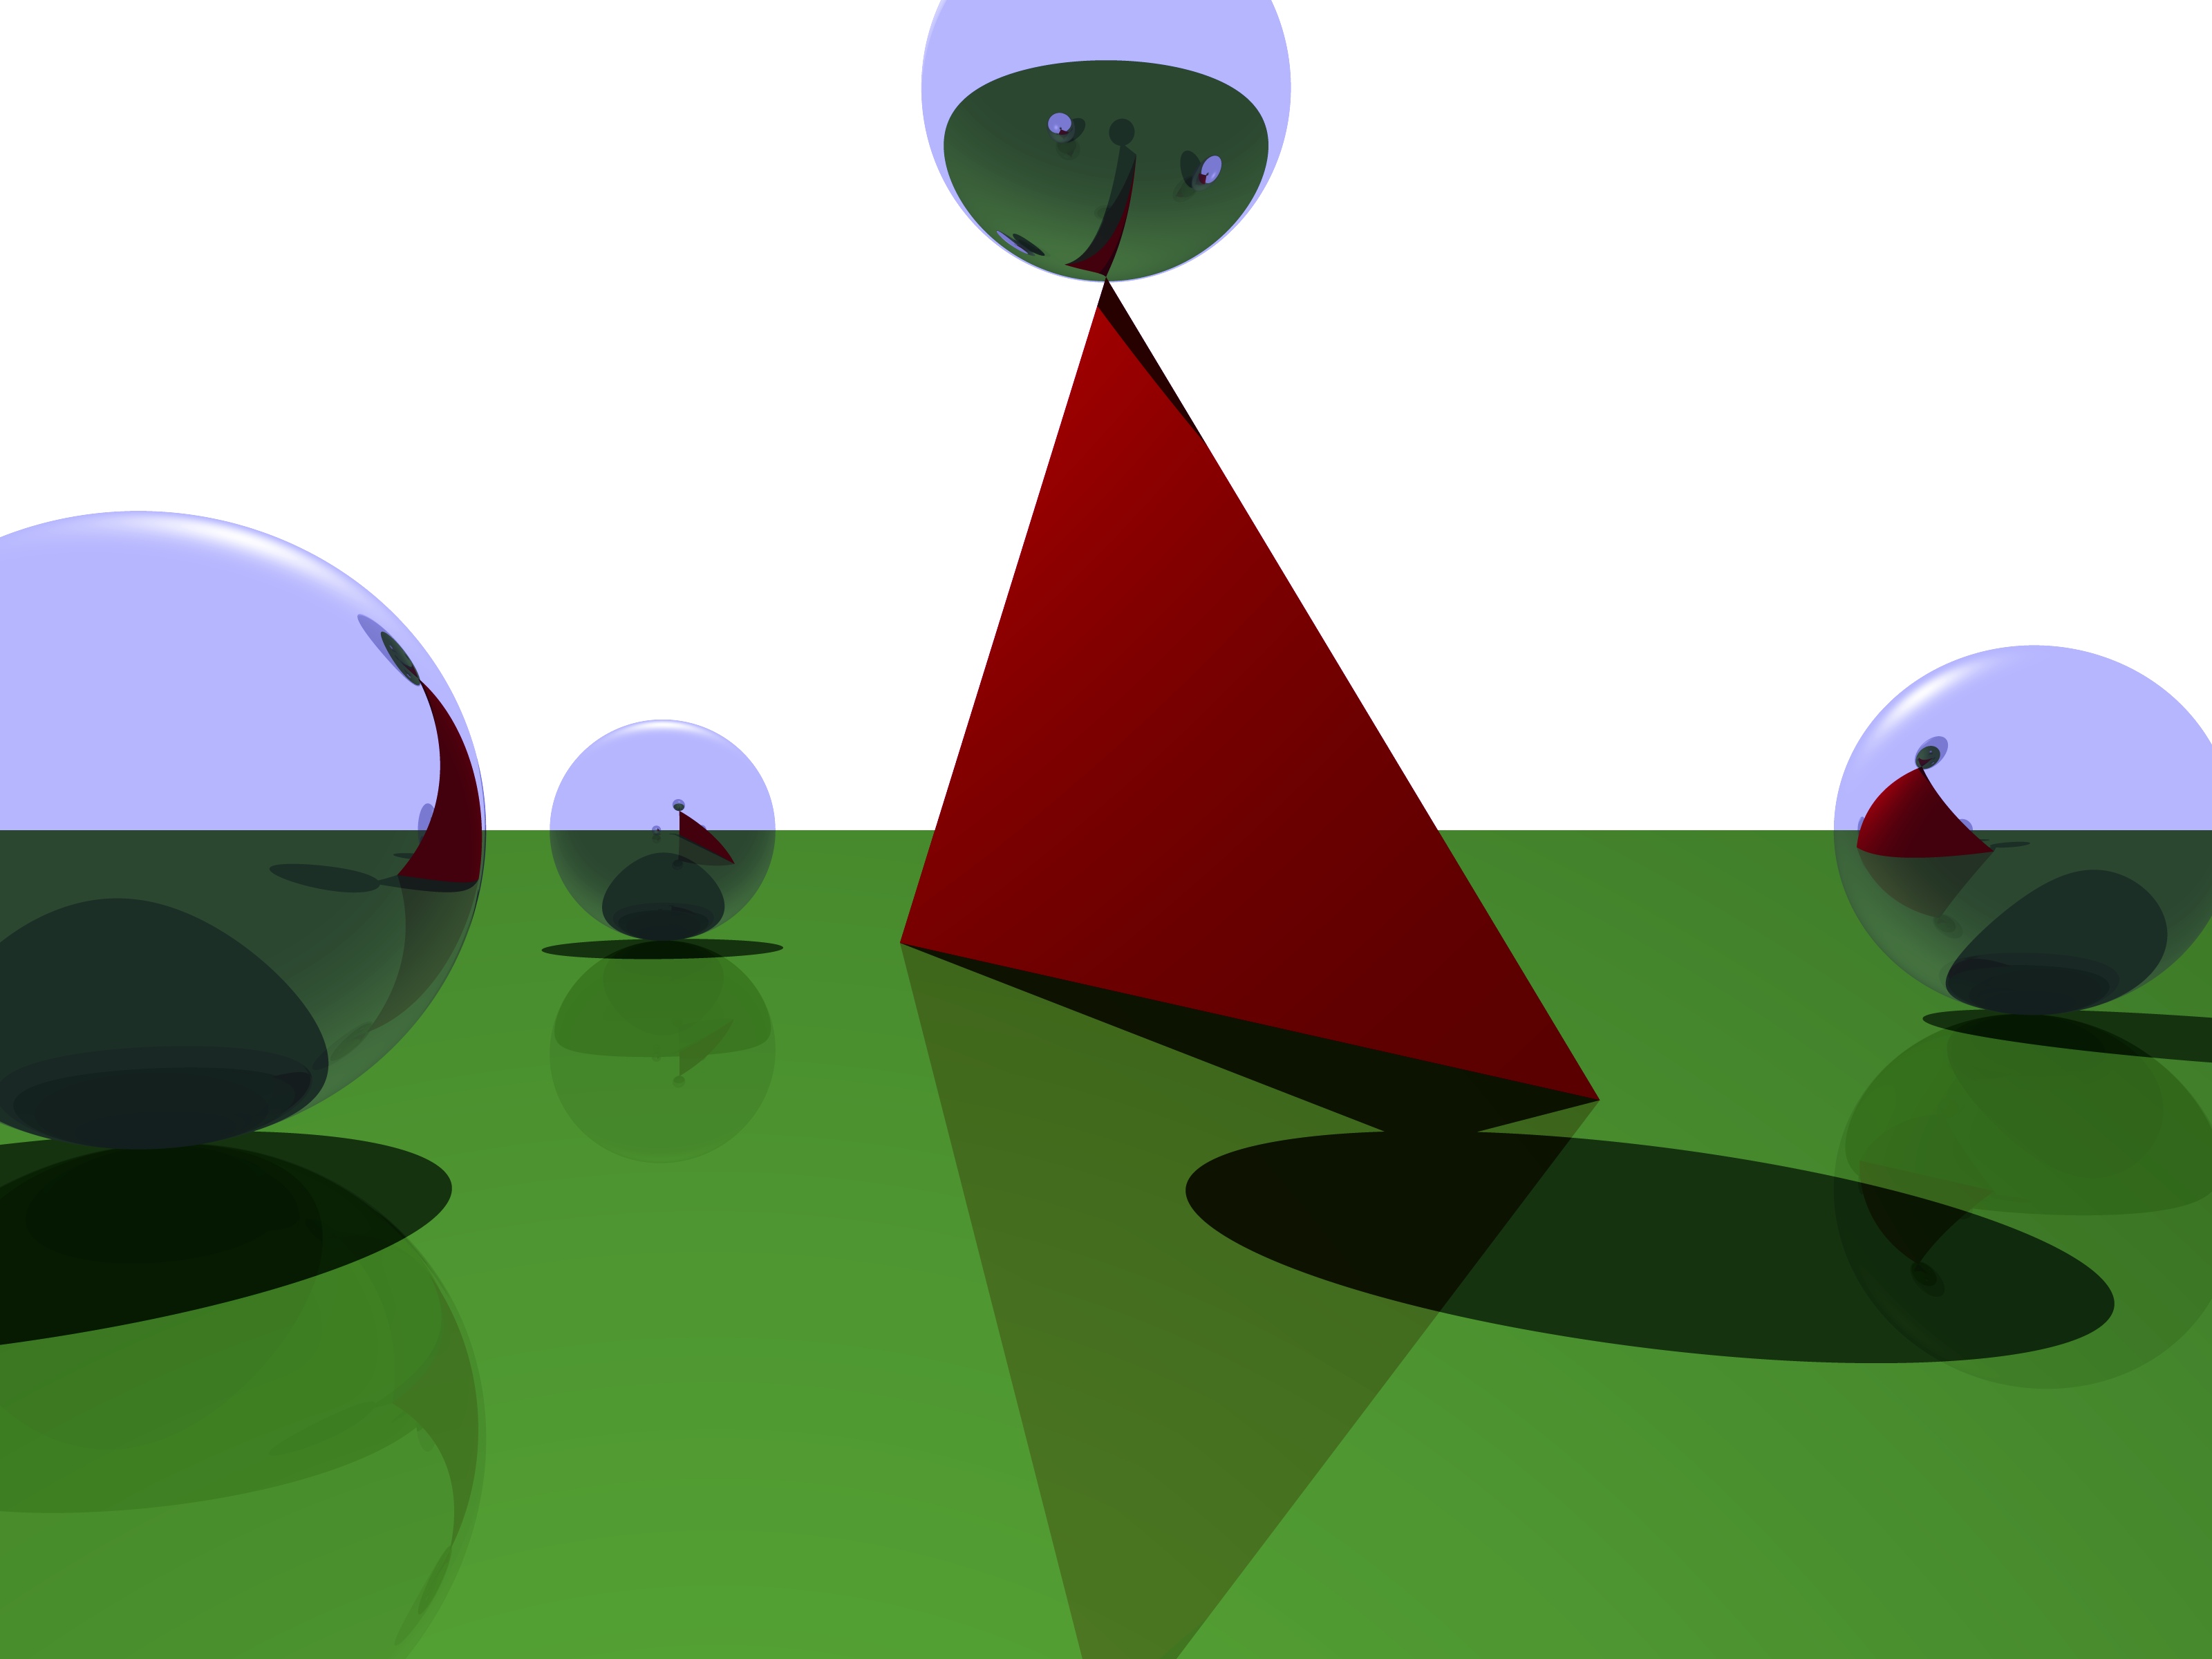
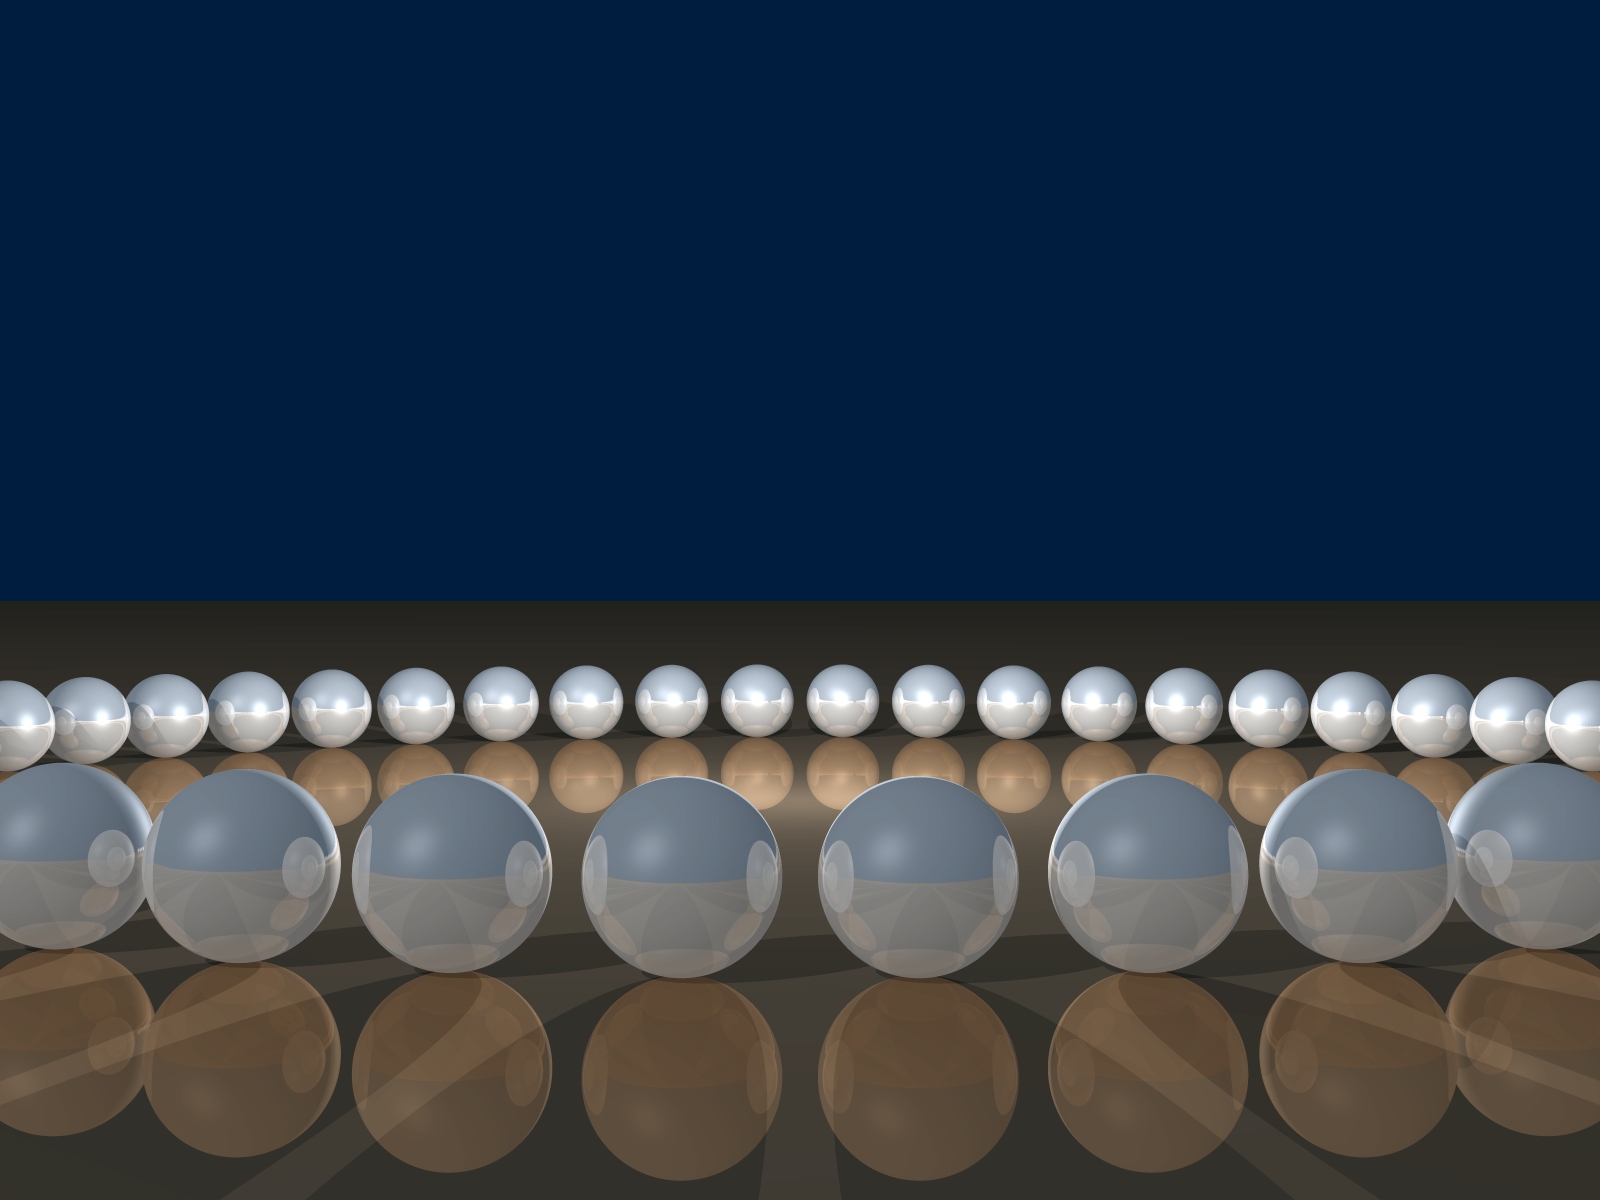
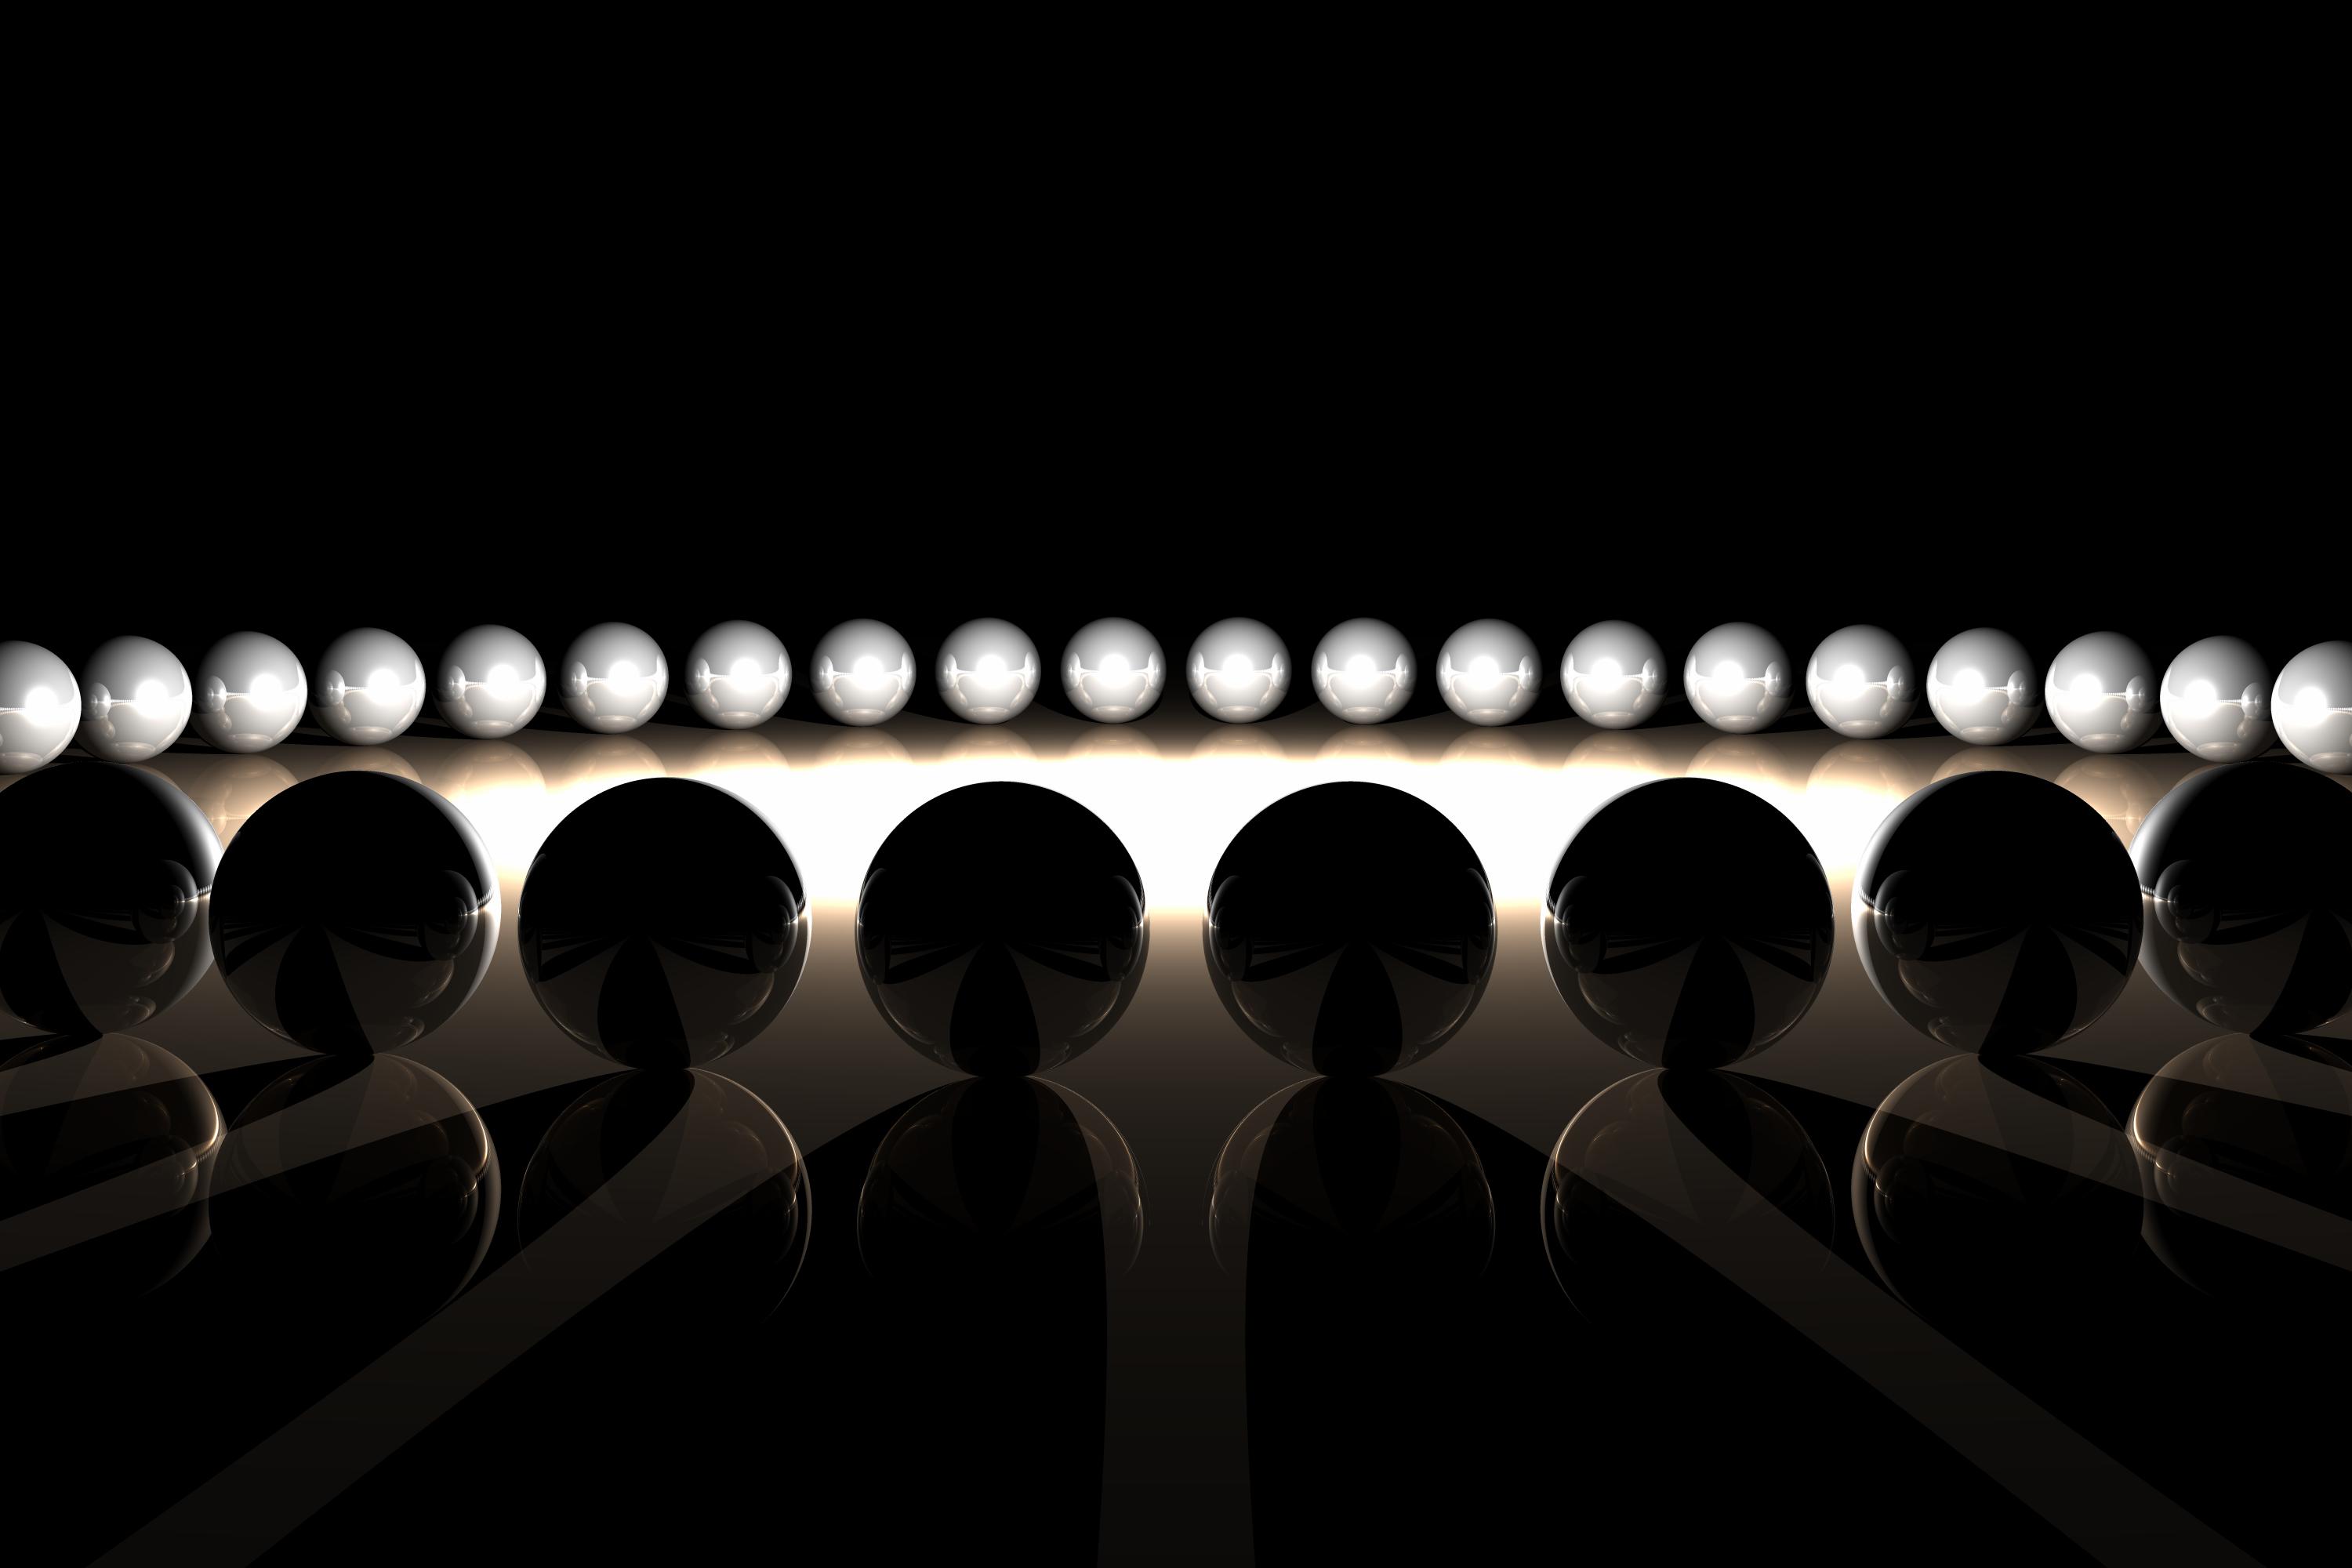
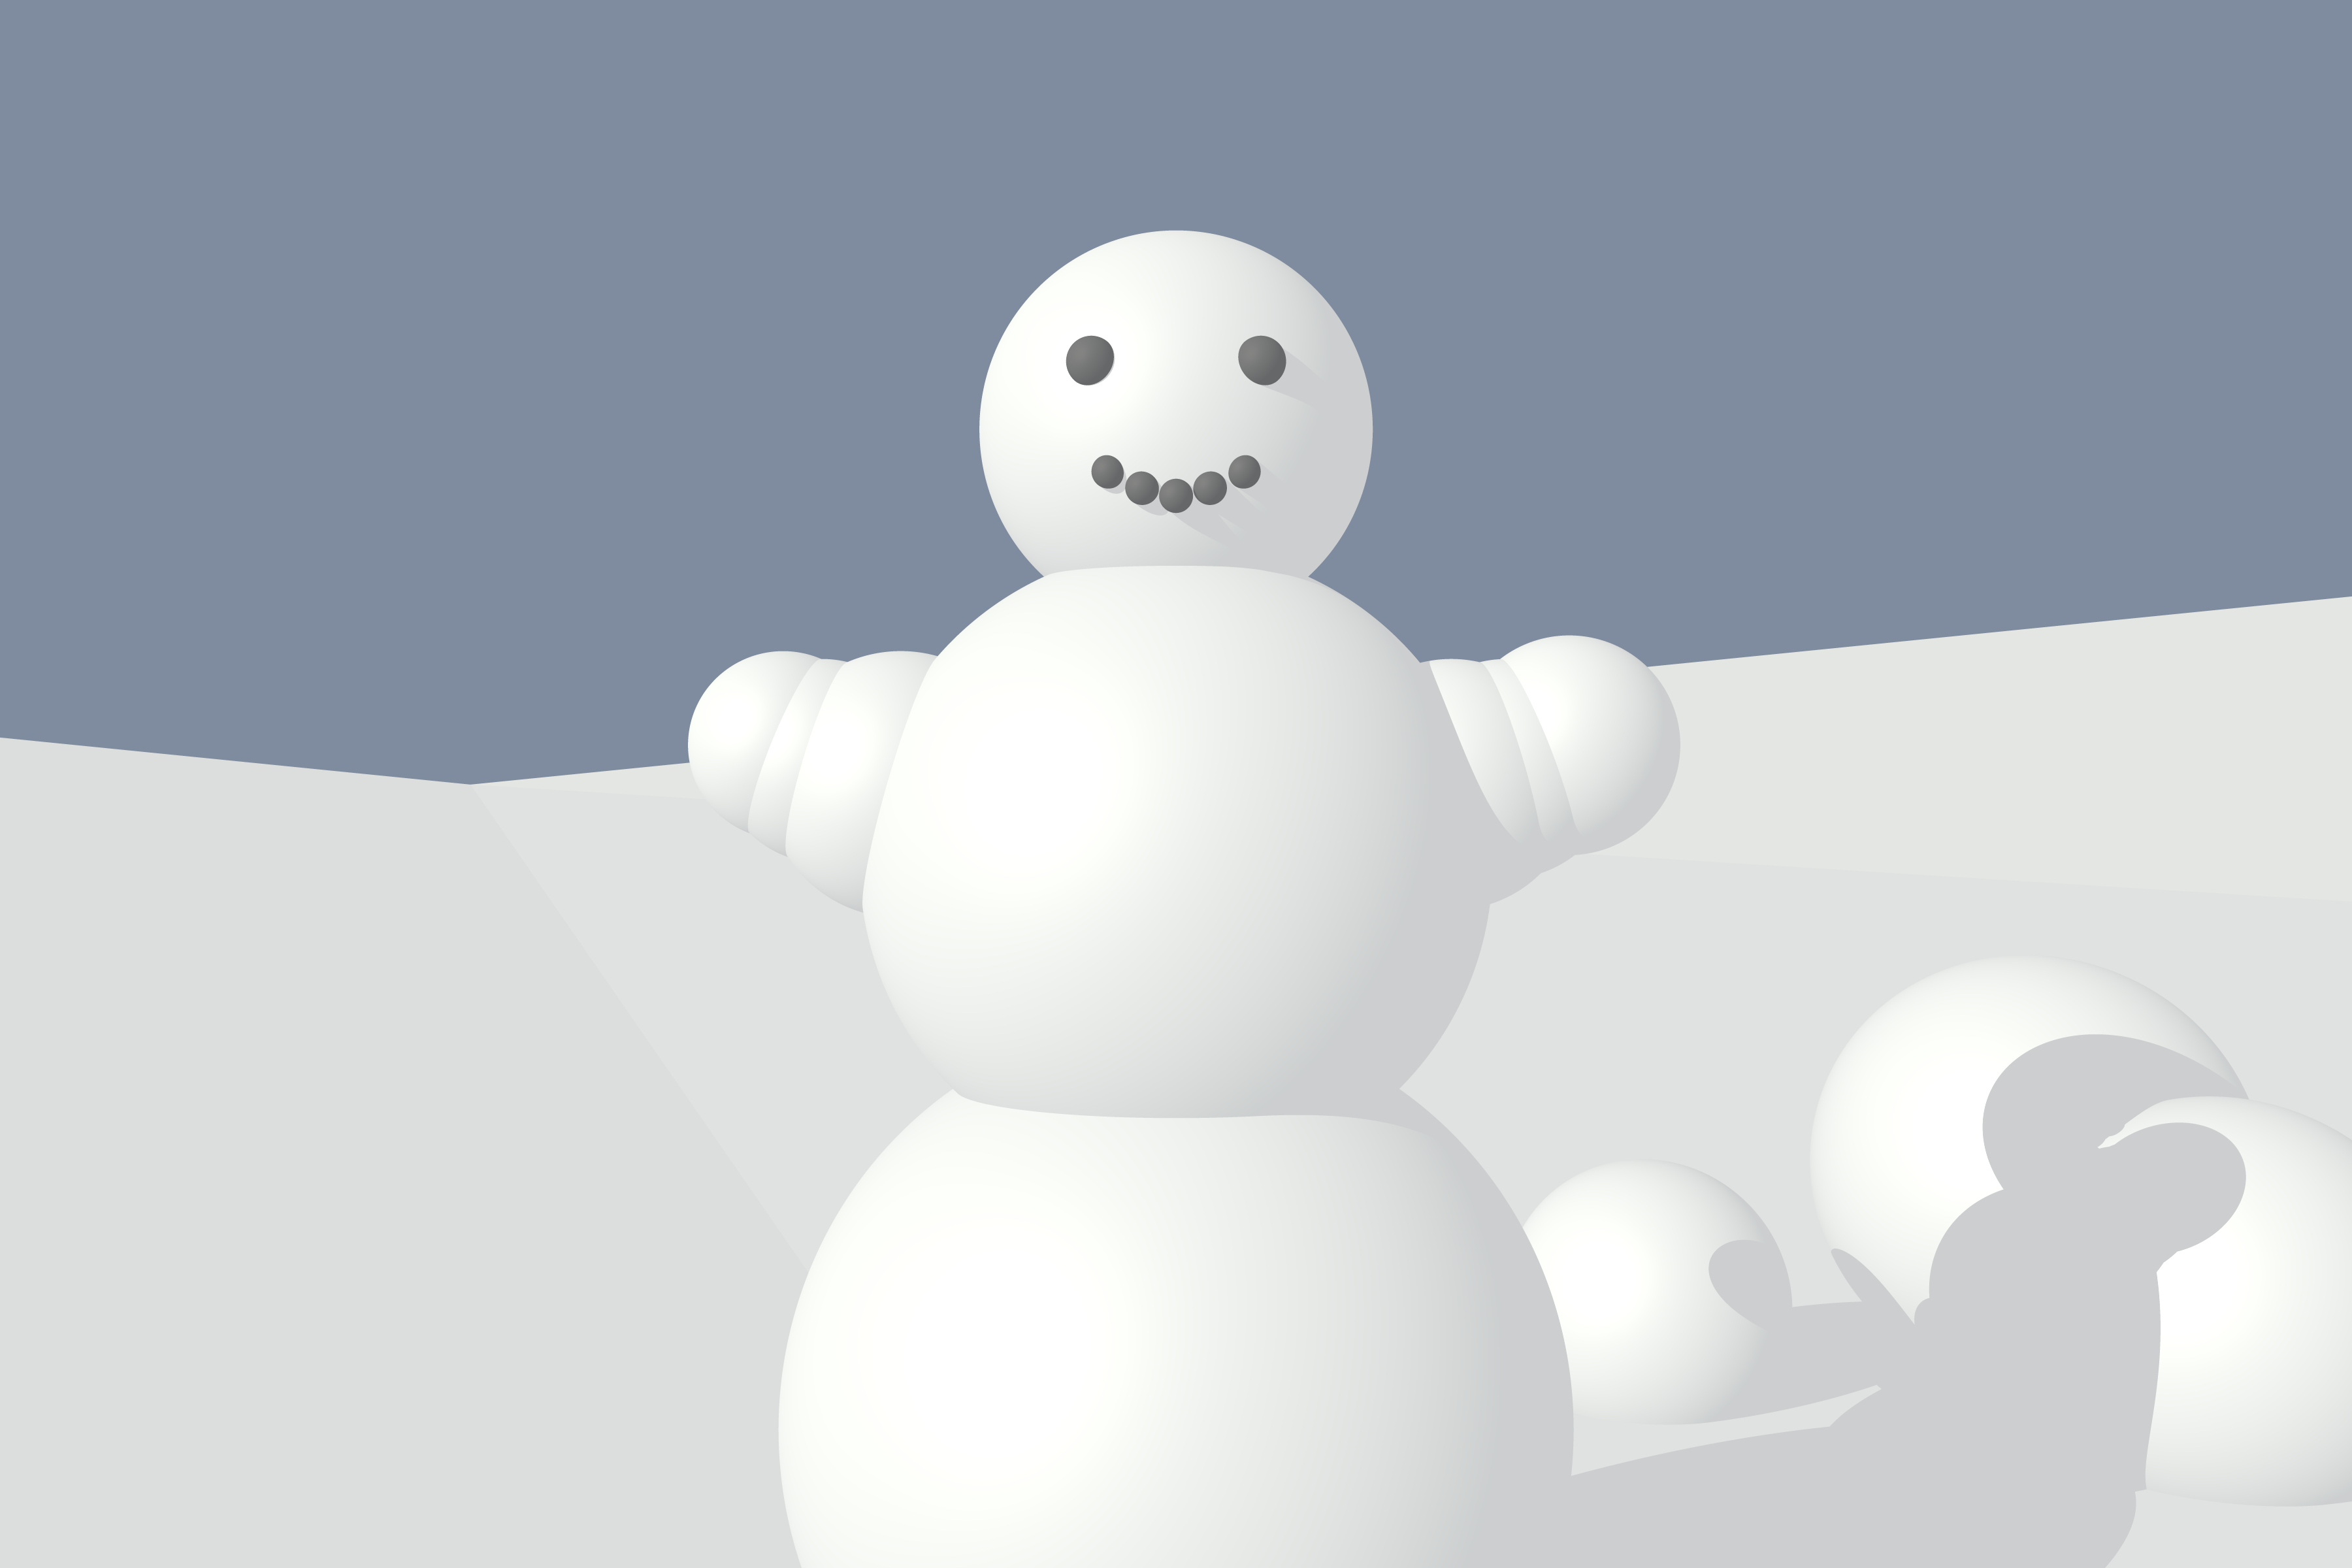
These images are generated with the Huygens Ray Tracer we wrote, which supports:
- Objects: spheres, planes, triangles
- Camera types: planar screen, cylindric screen, spheric screen
- Phong illumination model
- Directional and positional light sources
- Shadows (sharp)
- Reflections
- Multisampling
Animations
These animations are available in H.264 (MPEG-4) and WMV format. H.264 provides better quality, but might not be available on your (Windows) system. In that case, try the WMV format.
| High quality MPEG-4 | Lower quality WMV | |
|---|---|---|
| Intersecting spheres and mirror | MPEG-4 | WMV |
| Sunrise and sunset | MPEG-4 | WMV |
| Circle | MPEG-4 | WMV |
| Snowman | MPEG-4 | WMV |
Download
- huygensrt-sources-154.tar.bz2
- huygensrt-sources-154.zip
- huygensrt-154.exe (MinGW 32-bit Windows build contributed by Joshua Moerman.
includecommand does not work and more deficiencies may be present. We take no responsibility for this binary. Use it at your own risk.)
Usage
The Huygens Ray Tracer can be built by running make in the source directory. To build it with SDL support, the makefile tries sdl-config, so it must be in your path.
Options
-s FILENAME |
The scene description file to be rendered. Required. |
-t png|display |
Output type: ‘png’ or ‘display’. ‘display’ requires SDL and is the default when SDL is present. |
-o FILENAME |
The output file. PNG only, default: stdout. |
-w WIDTH |
Image width, in pixels. |
-h HEIGHT |
Image height, in pixels. |
-n N |
N2 samples per pixel. Default: 1. |
-g ɣ |
Gamma correction: L’ = Lɣ |
-b A |
Brightness correction: L’ = AL |
File Format
The Huygens Ray Tracer uses its own file format. The scene description is read line by line and parsed. Empty lines and lines starting with a hash sign (#) are ignored. A line starts with a keyword that is followed by the information required for the keyword.
Colors are written between curly braces, e.g. {0, 0, 1} for blue, {1, 0.5, 0} for orange. Positions are specified with parentheses, directions are specified with brackets.
In this reference, parentheses, braces and brackets are used to indicate the type of parameter that should be supplied to each command. No parentheses indicates a single scalar value.
A few commands accept an angle-type keyword. The angle type can be one of the following keywords:
| keyword | full circle | meaning |
|---|---|---|
rad |
2π | Angles are interpreted as radians by this command. |
pi |
2 | Angles are multiplied by π (3.1415…) and then interpreted as radians by this command. |
pie |
1 | Angles are multiplied by 2π and then interpreted as radians by this command. |
deg, degree |
360 | Angles are interpreted as degrees by this command. |
Camera Commands
camera planar (position) depth-of-view samples-per-pixel
Set the camera type to planar screen. This is the camera that should normally be used, when the display is somewhat flat. The depth-of-view parameter can be used to specify the ‘zoom’ of the camera. The depth of view is the distance from the camera where the view is 1 wide.
camera cylindric (position) angle-type start-angle end-angle vertical-offset samples-per-pixel
The cylindric camera can be used for cylindric screens, or for panoramic views on a flat screen, though the latter may look weird. Of course this could be a desired effect.
camera spheric (position) angle-type horizontal-start-angle horizontal-end-angle vertical-start-angle vertical-end-angle samples-per-pixel
The spheric camera can be used for spheric screens. The result image is like an equirectangular projection.
camera-transformation [row0] [row1] [row2]
Sets the camera direction transformation matrix.
camera-transformation [looking-direction]
Sets the camera direction transformation matrix, the camera z-axis in the same direction as looking-direction, with no rotation around the z-axis.
camera-transformation identity
Resets the camera direction transformation matrix to identity.
transform-camera [row0] [row1] [row2]
Multiply the camera direction transformation matrix by the supplied matrix.
rotate-camera angle-type x-rotation y-rotation z-rotation
Change the current camera direction transformation matrix by the supplied angles. Rotations are applied in x-y-z order. If you need them to be applied in a different order, use this command multiple times.
Illumination Commands
light (position) {color} * intensity
Adds a positional light. The intensity parameter is optional.
light [direction] {color} * intensity
Adds a directional light. direction points towards the light source. The intensity parameter is optional.
ambient intensity
ambient {color}
ambient {color} * intensity
Specifies the amount of ambient light throughout the scene.
Object Commands
plane [normal] origin-offset {color} diffuse-coeff specular-coeff shininess reflectivity
Adds a plane to the scene. diffuse-coeff and the parameters following it are optional. Defaults are Lambertian reflection only, 10 shininess and 0 reflectivity.
sphere (center) radius {color} diffuse-coeff specular-coeff shininess reflectivity
Adds a sphere to the scene. diffuse-coeff and the parameters following it are optional. Defaults are 1.0 diffuse reflection, 0.25 specular reflection, 5 shininess and 0 reflectivity.
triangle (vertex0) (vertex1) (vertex2) {color} diffuse-coeff specular-coeff shininess reflectivity
Adds a triangle to the scene. Note that the vertices should be specified in the correct order, as the calculated normal is correct for one side only. diffuse-coeff and the parameters following it are optional. Defaults are 1.0 diffuse reflection, 0.25 specular reflection, 5 shininess and 0 reflectivity.
Other Commands
background {color}
Specifies the background color.
background intensity
Sets the background color to a shade of grey.
cd directory
Change directory. directory does not need escaping. Commands are terminated by the end of the line only and names are read verbatim.
include file
Also read scene description from another file. file does not need escaping. Commands are terminated by the end of the line only and names are read verbatim.
brightness brightness-factor
Like controlling camera exposure.
gamma gamma-exponent
Midtone brightness correction. (L’ = Lɣ)
size widthxheight
Set the image size in pixels.
Example
camera planar (0, 0, 0) 1

# 20% indirect light
ambient 0.2
# 80% direct light
light [1, 1, -1] 0.8

# white background
background 1

# some objects
plane [0, 1, 0] -1 {0.8, 0.7, 0.0} 0.6 0 0 0.5
sphere (0, 1, 8) 2 {0.0, 0.2, 0.8} 0.4 0.4 30 0.6
sphere (6, 1, 12) 4 {1.0, 1.0, 1.0} 0.0 0.01 30 0.8
sphere (-3, 0, 7) 1 {0.0, 0.2, 0.8} 0.4 1.4 500 0.6
This results in the image below when rendered with the following command:
$ huygens-raytracer -s example -w 400 -h 300 -n 3 -t png -o example.png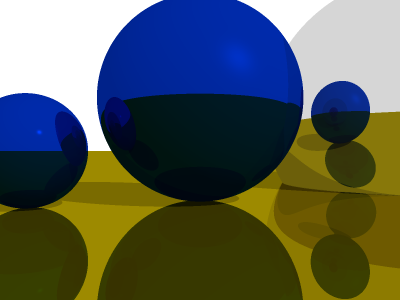
Example rendering